


This week my students will be making a couple Christmas gifts for their families! One of my favorites is the burlap Christmas trees! I got this idea from a fabulous 1st grade teacher who was one of my mentor teachers and I’ve done it every year since!

MATERIALS:
– Burlap
(length depends on the number of students!)
– Masking tape
– Large needles
(the ones are use are actually knitting needles… they have large eyes and blunt ends)
– Tree pattern to trace
– Permanent Marker
– Green yarn
– Star foam stickers
– Gems/sequins
– Markers
– Glue bottles

I used to do the prep for this on my own, but the last couple years I’ve been lucky to have a parent volunteer to take it home and do it for me! I just send home the burlap, masking tape, tree pattern to trace, and permanent marker.
The burlap is cut into large squares, and then taped on the edges so it doesn’t fray.

Next, the Christmas tree can be traced on the burlap. I cut out a tree pattern on construction paper and then just save it to use every year. It is large and fairly simple. It’s nice to trace it in green marker so that it blends in more with the green yarn!

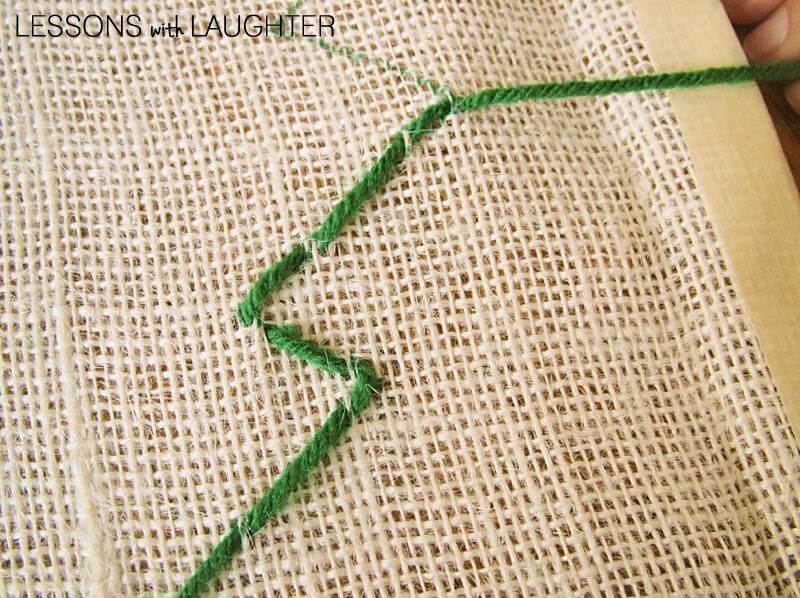
I also prep the yarn and needles for them. I estimate how much yarn students will need, and cut that length. Then I tie a knot at one end, and insert the other end through the needle. You can even start it off by pulling the needle up through the burlap. I always have them start at the bottom corner of the stump. This makes it easier when it is time to hand out all the materials!
After showing my students what they will be doing, I pass out the burlap squares and needles with thread. I like to show them how to do it keeping the burlap flat on their desk the entire time and simply leaving a finger tip space and then threading the needle under one strand of burlap.
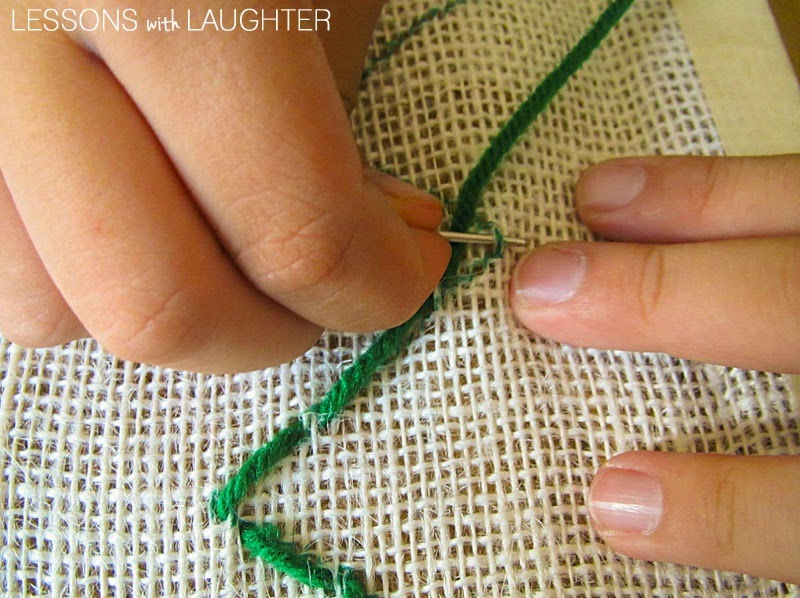
I’ve done this in both 1st and 4th grades and every year my students have loved it! It’s also great for working on those fine motor skills!
After they are done sewing, I help them tie off the end underneath and then they cut off the extra yarn! Then they can color it with yarn and decorate their tree! I give each table a plate or bowl with gems and sequins. Also, each student gets a sparkly foam star to glue on top of their tree!
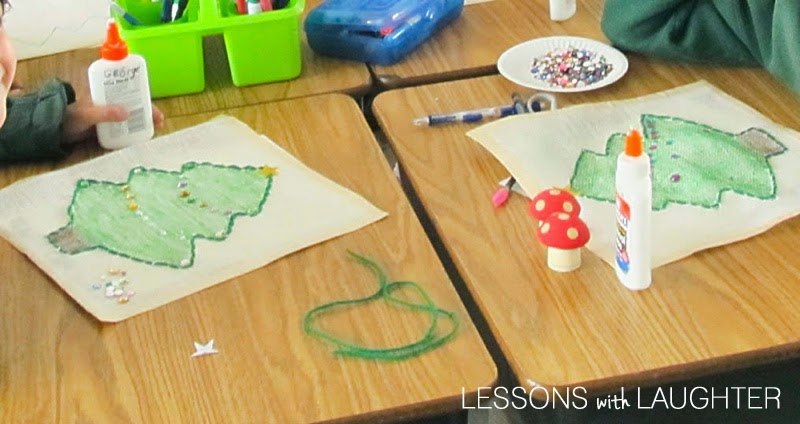
Some students even like to draw in some presents under their tree!

If you can’t do Christmas trees at your school, you could do something else, like a snowman! Or heck, you could really sew anything, at any time of year for this project!
Hope you all have a great last week before Christmas break!


read comments