I'm so happy you're here! I support teachers with implementing classroom organization systems and building a positive classroom community + environment that exude joy!
What do you want to learn today?
My Classroom Job Application Google Form
for free!
Colorful United States Map Tutorial
When I started setting up my classroom this year, one of the first things I was looking for was a colorful United States map. U.S. history is part of the 5th grade California social studies standards, so I knew that I wanted a map in the classroom to refer to while we were learning about our nation’s history. If you know me, you know that I love all things bright and colorful, so of course I was on the search for a large, colorful map to hang in my classroom.
After many days spent searching for maps online and in stores, it became clear that I was not going to find exactly what I was looking for, so I came to the next-best option to buying a map… I decided to make one! I’m excited to share with you a tutorial so that you can create this colorful United States Map for your own home or classroom.
Originally I was hoping to use a material canvas that I could use interactively by pinning things onto it, however when I went to Michael’s I couldn’t find any. I decided to purchase a large wrapped canvas instead, along with the paints and other necessary materials.
Materials:
Artist’s Loft Gallery Wrapped Traditional Canvas (36in x 48 in)
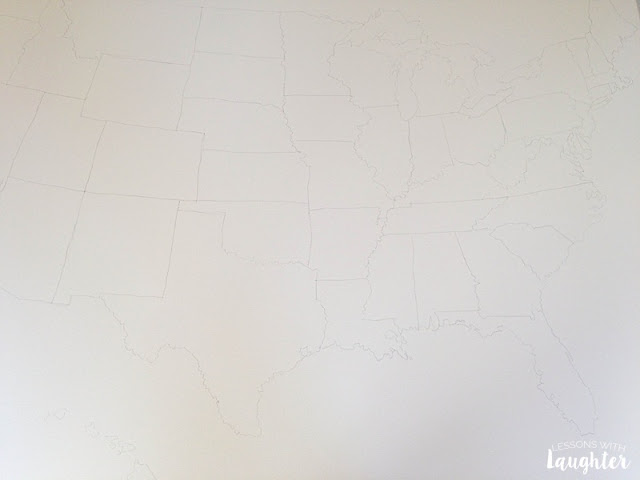
To begin this project, I found a map of the United States that I liked online and then opened the window with the black and white image on my computer. Next I connected my printer to a projector so that the image could be projected onto the canvas. I had to prop the canvas up on a few chairs in order for it to line up with the projected image and be at an angle that was comfortable for me to trace. Then I slowly worked my way across the map lightly tracing the state’s outlines with a pencil.
After I was finished tracing, I had a nice outline of the United States to work with.
Painting the Map
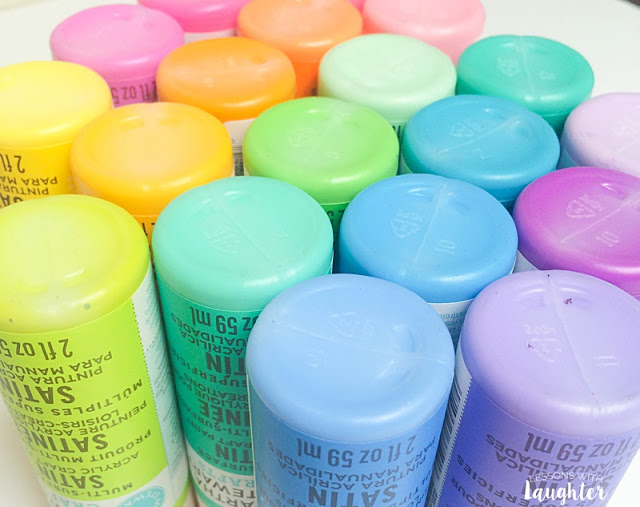
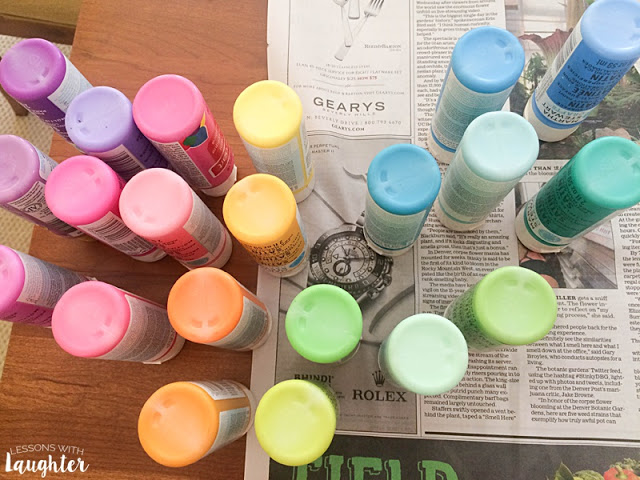
I laid out all my paints and tried to plan out where I wanted the colors to go. (I actually printed out a copy of the map I traced on paper and put a dab of paint on each state in order to see how the colors would work together… this step is definitely not required and I actually ended up scrapping that color plan and just kind’ve chose colors as I went. But I did have a general plan.
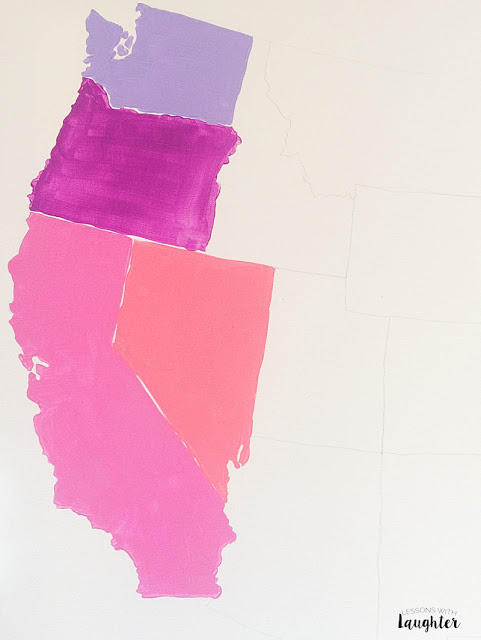
I painted each state with a coat of paint and then went back over the paint with a second coat after it dried, starting on the left side of the map and working my way over to the right.
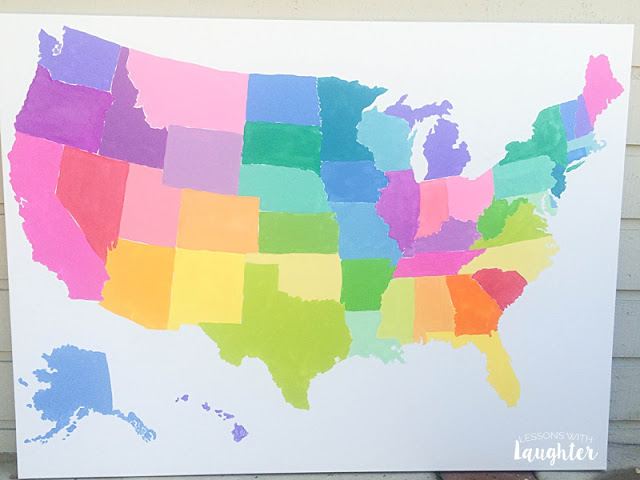
This is what the map looked like after I finished painting all of the states. I went back and forth as to whether or not to paint the great lakes. I decided just to keep them white for now since I already had some states painted in shades of blue.
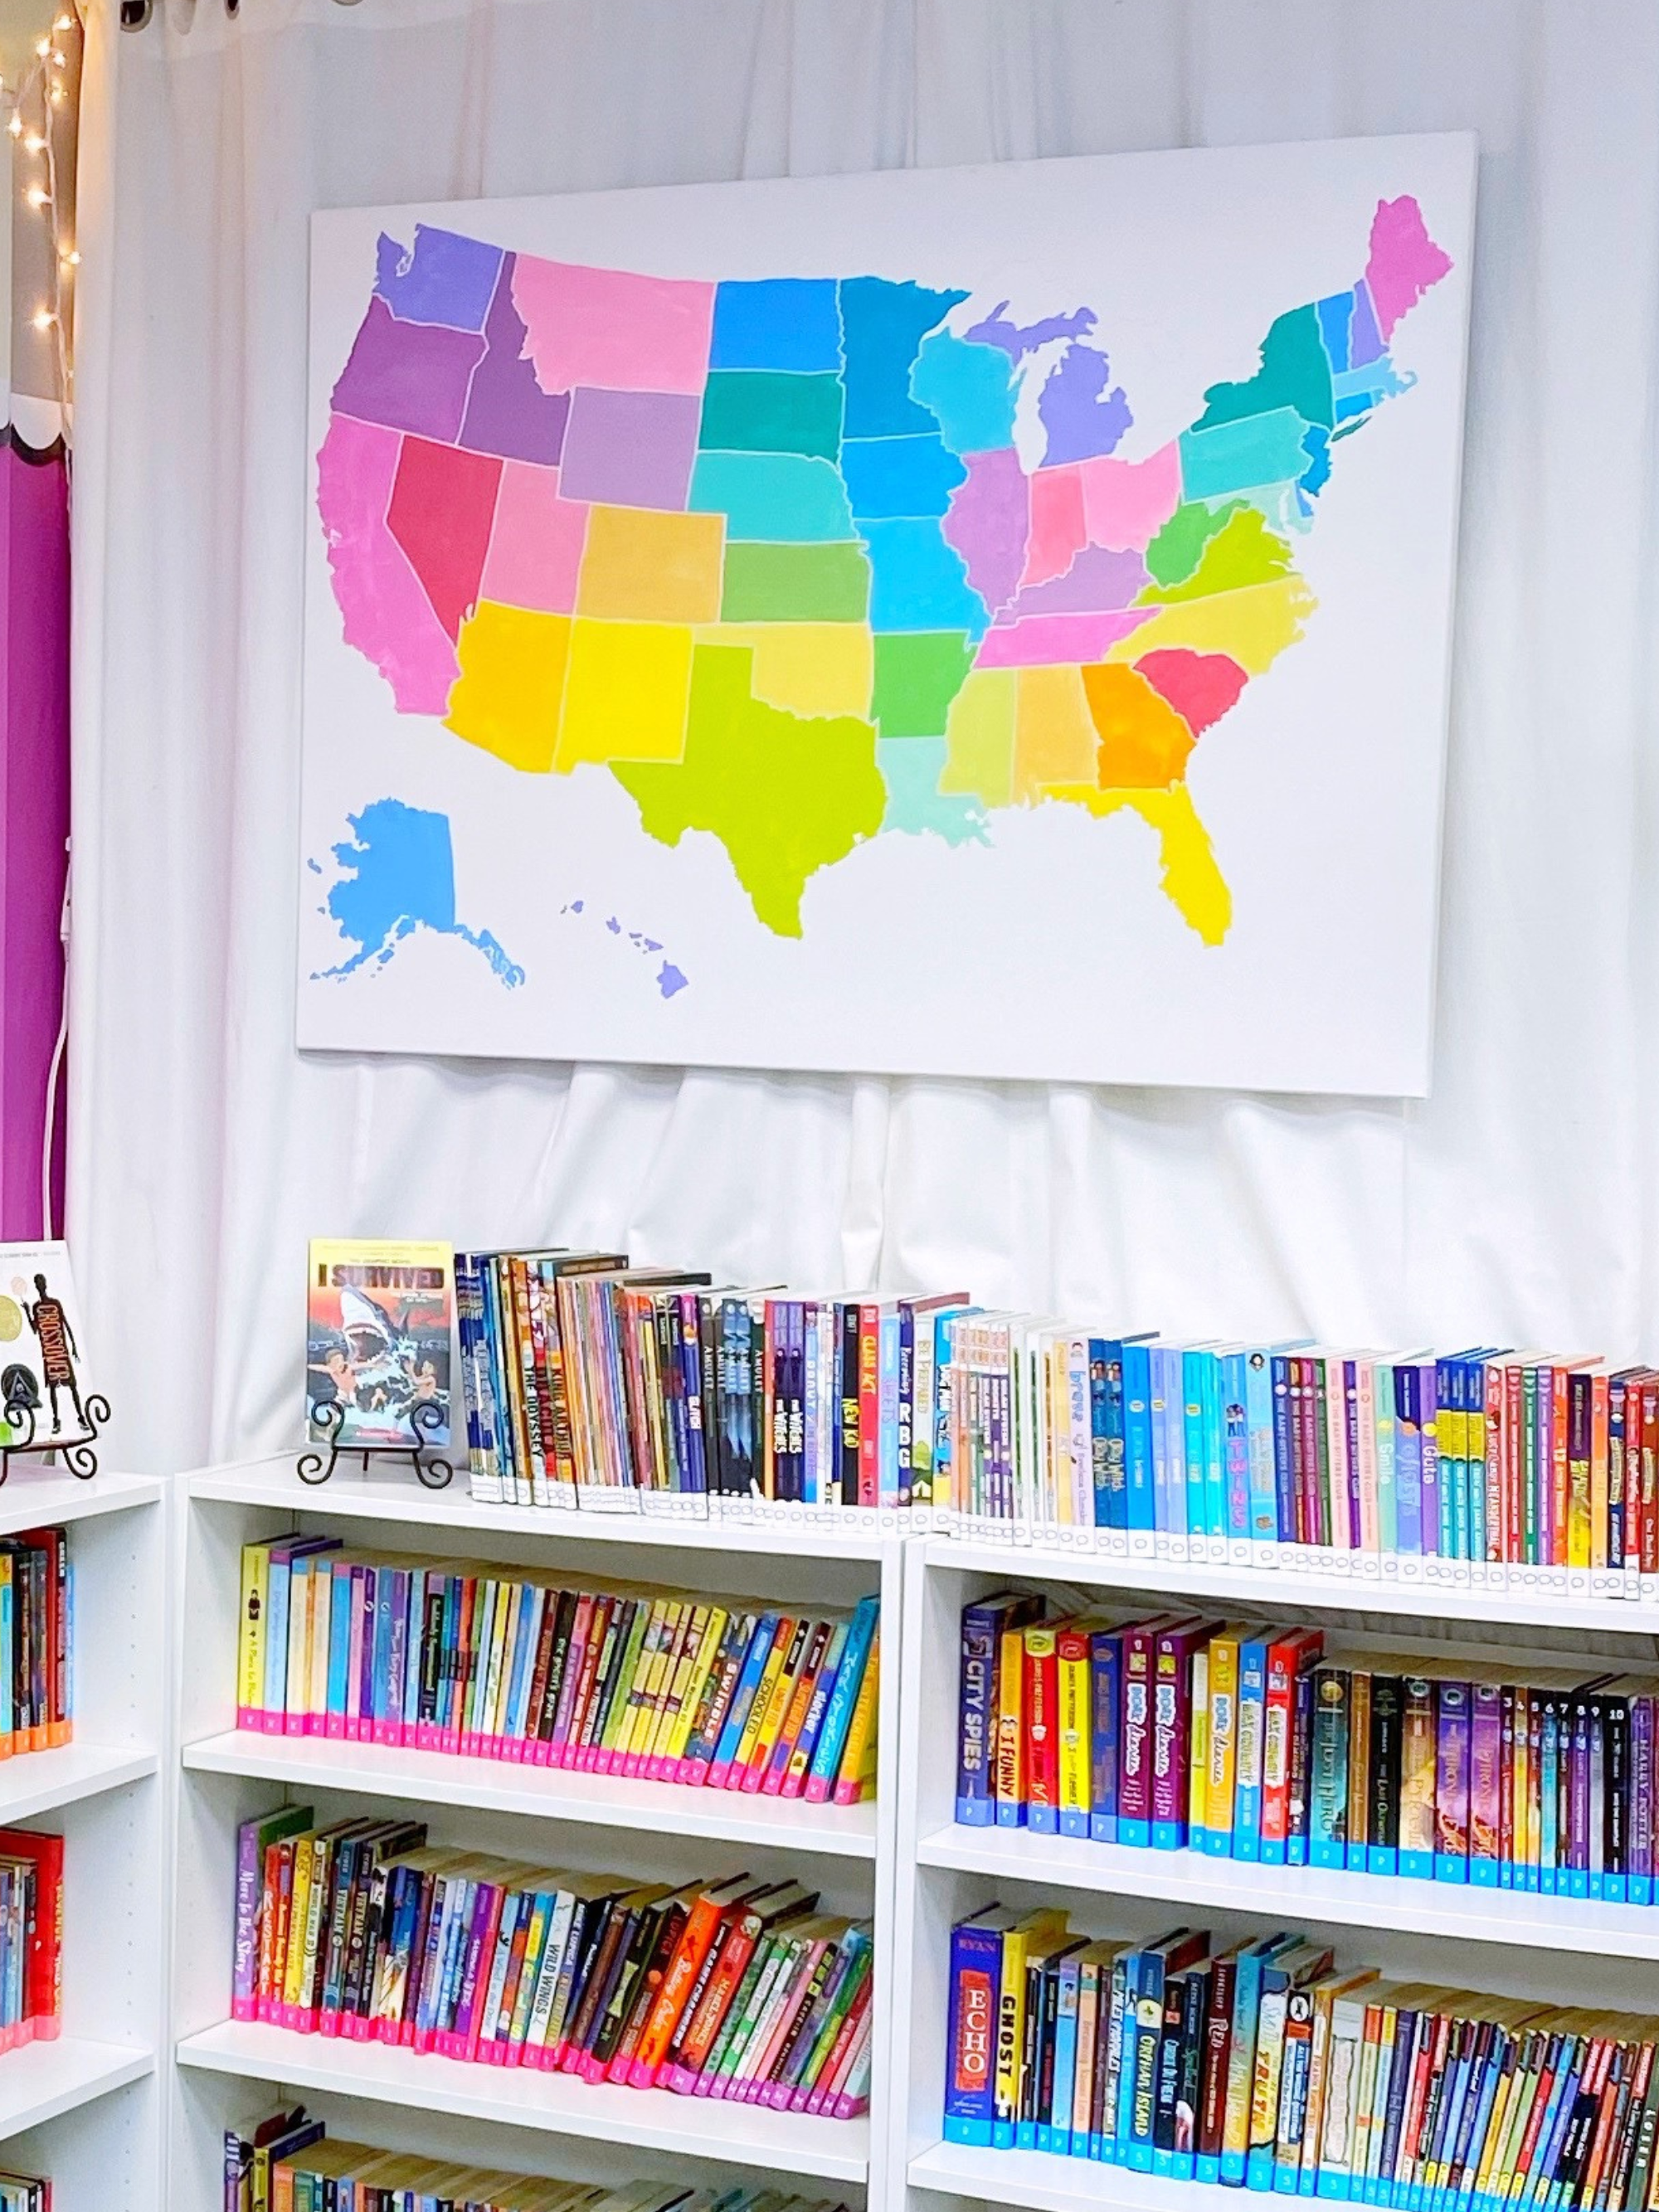
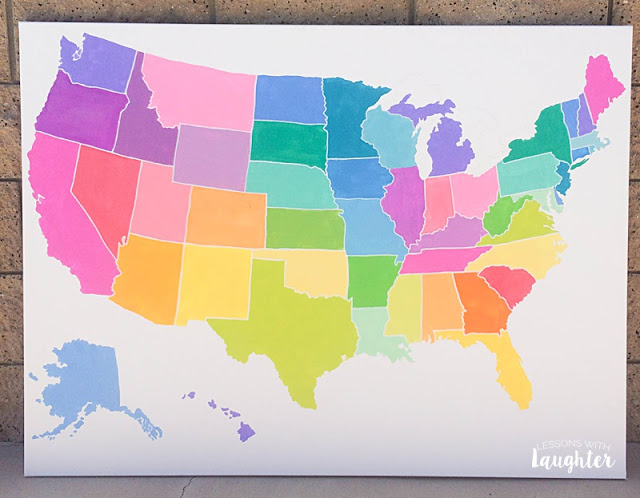
The last step was using my Sharpie paint pen to trace the borders between each state. This helped really define the states and put a nice finishing touch on the map!
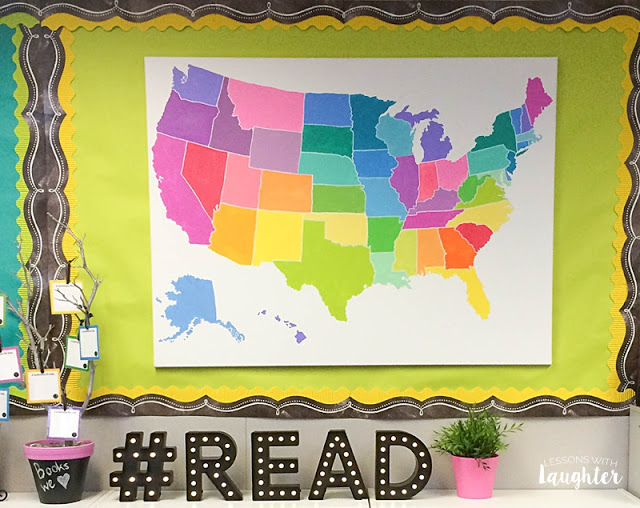
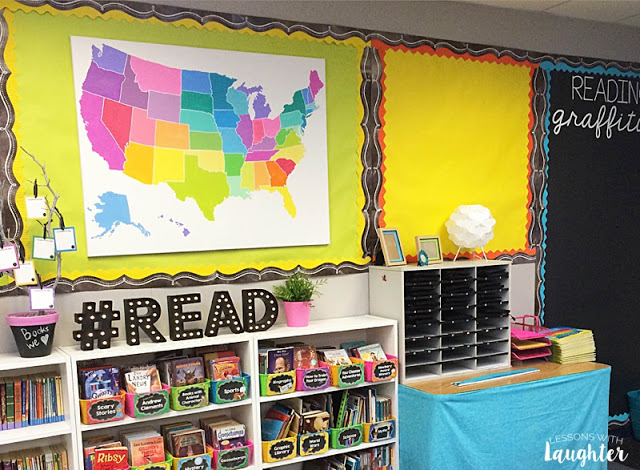
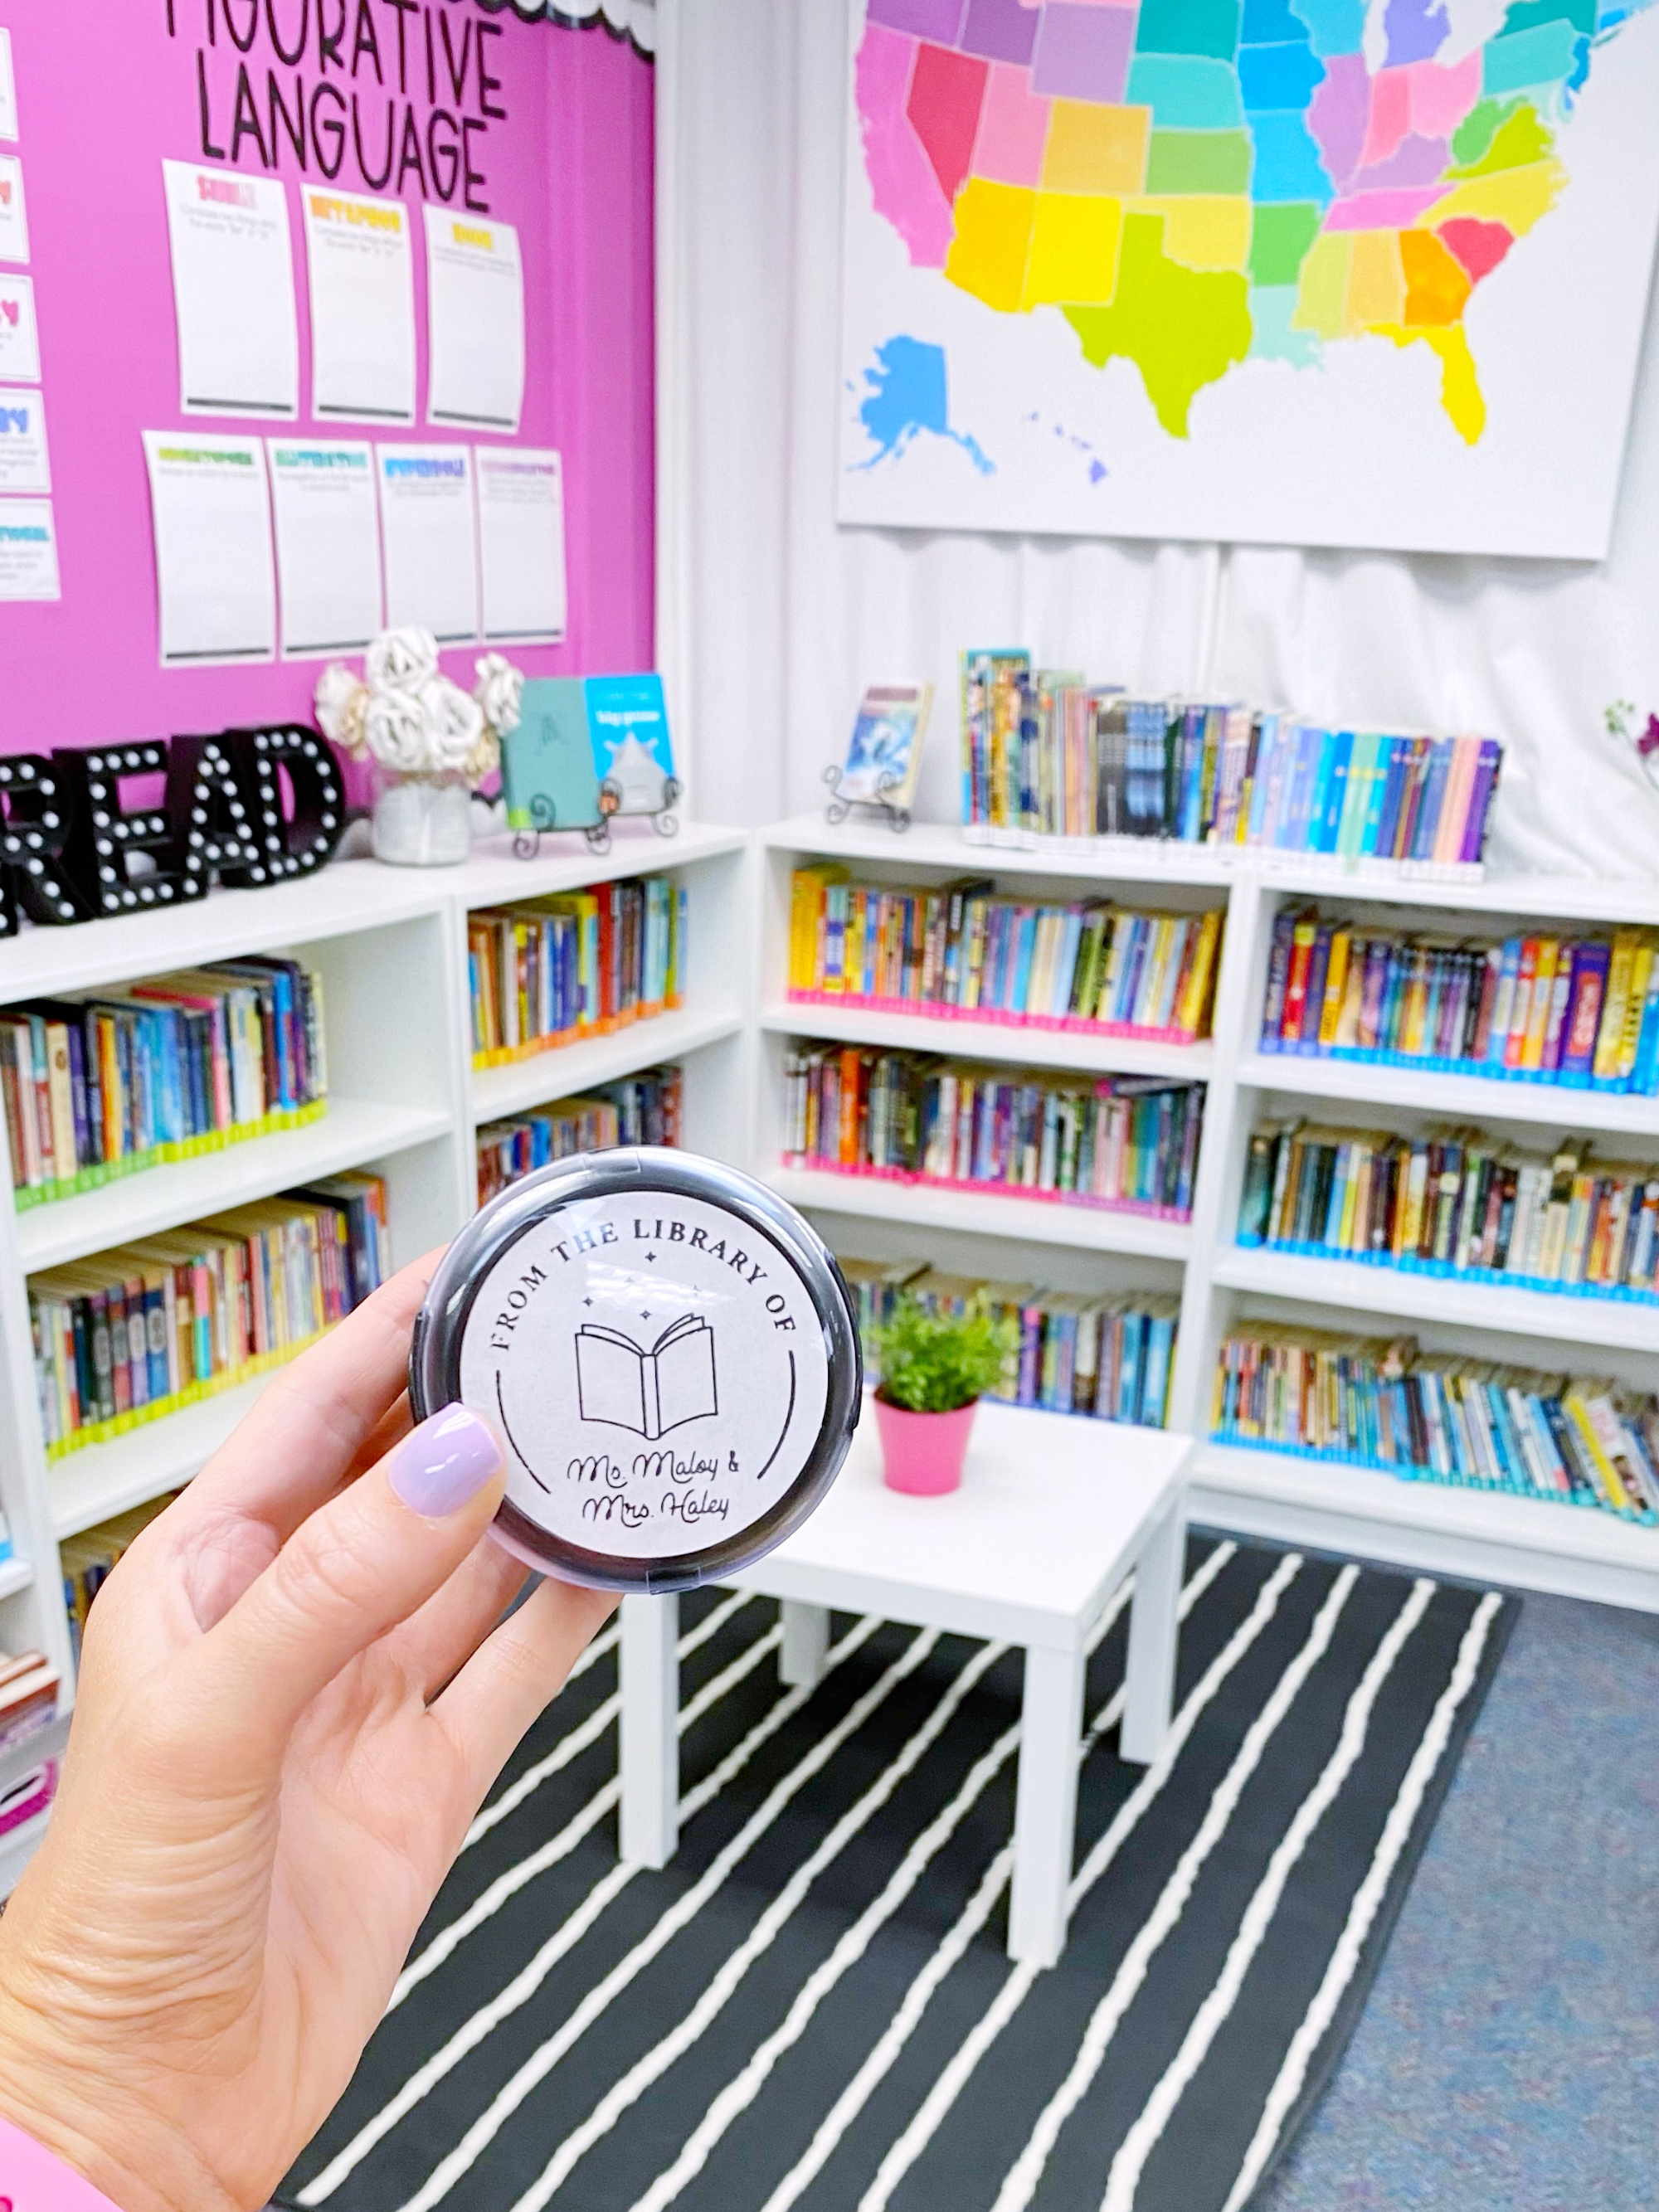
The map now hangs in my favorite part of our classroom above our colorful library! It brings together all the colors of our classroom and is a great reference during social studies, when we are Skyping with classes in different states, and when students are reading about different states in their books!
I hope this Colorful United States Map tutorial was helpful for you! If you use it to create your own map, let me know! I would love to see pictures!
I have been waiting for this tutorial! So, so fabulous! Your map is gorgeous! It will definitely be on my summer project list. Thank you for sharing you ideas!
Girl…you KNOW I have been waiting for this tutorial!!! I can’t believe I am JUST seeing it!! This is going on my summer bucket list for sure!! Thank you friend!! Love it!
I have tried looking all over your blog for information about the #READ letters you have in on display in your library! I absolutely adore them! I have been looking for some myself that I can display in my first classroom this fall. Did you make them, or purchase them somewhere? I would love to know!
Thanks so much, Kathryn! They are actually from Target!! They don’t sell those same plastic ones anymore, but they have similar black metal ones that I am going to purchase since the bulbs are running low on these ones that I’ve had all year! Hope you can find them for your classroom!
I just saw this post on Instagram and think that this is amazing! I’m definitely planning to go to Michael’s and buy the stuff to make one. Can you share the names of the paint colors that you used? Thanks!!
Thank you so much!! I love the Martha Steward paints, but I had a bunch of other ones at home so I used a combination of them! I can’t remember all the color names… I wish I had written them down!
I just bought my supplies!!!! Canvas was on sale for $23!!! This will be my summer project!! By any chance, do you have the names of the acrylic paint used?
YAY!!! I can’t wait to see how your map turns out! That’s a great deal on the canvas! I don’t remember the exact names of the colors I used! The majority of them were the Martha Stewart ones though! When I got home I realized I needed more colors (and even had to mix some of my own), so I used a few other brands too!
Your map looks great! I did the same thing quite a few years back with my young daughters help! We projected the map and used large butcher paper and crayons to color each state! It was a little easier than paint. I was able to cut the map into regions and after laminating it has lasted many years! Plus it reminds me of my daughter when she was younger! 🙂
Thanks so much, Jan! What a wonderful memory to have with your daughter! I bet that was really fun to do together! I’ll have to remember that when my daughter gets a little older!
I am from the Caribbean, Trinidad and Tobago to be exact. I will be trying this project for my classroom this year but with my country’s outline. I hope it comes out as beautiful as yours!


Oh my gosh, I LOVE this! It’s beautiful!
Thanks so much, Maria!
I have been waiting for this tutorial! So, so fabulous! Your map is gorgeous! It will definitely be on my summer project list. Thank you for sharing you ideas!
Thanks so much, Lauren!!! You’ll have to share pictures after you make it!
Girl…you KNOW I have been waiting for this tutorial!!! I can’t believe I am JUST seeing it!! This is going on my summer bucket list for sure!! Thank you friend!! Love it!
This. Is. Amazing. LOVELOVELOVE!
I love your map tutorial! Thank you for sharing!
I have tried looking all over your blog for information about the #READ letters you have in on display in your library! I absolutely adore them! I have been looking for some myself that I can display in my first classroom this fall. Did you make them, or purchase them somewhere? I would love to know!
Thank you!
Thanks so much, Kathryn! They are actually from Target!! They don’t sell those same plastic ones anymore, but they have similar black metal ones that I am going to purchase since the bulbs are running low on these ones that I’ve had all year! Hope you can find them for your classroom!
Stunner
I just saw this post on Instagram and think that this is amazing! I’m definitely planning to go to Michael’s and buy the stuff to make one. Can you share the names of the paint colors that you used? Thanks!!
Thank you so much!! I love the Martha Steward paints, but I had a bunch of other ones at home so I used a combination of them! I can’t remember all the color names… I wish I had written them down!
I just bought my supplies!!!! Canvas was on sale for $23!!! This will be my summer project!! By any chance, do you have the names of the acrylic paint used?
YAY!!! I can’t wait to see how your map turns out! That’s a great deal on the canvas! I don’t remember the exact names of the colors I used! The majority of them were the Martha Stewart ones though! When I got home I realized I needed more colors (and even had to mix some of my own), so I used a few other brands too!
That is gorgeous! You did a great job. What a neat idea!
Thank you!
This map is so eye catching! Thank you so much for sharing your tutorial.
Thank you, Tammy!!!
Thanks, Tammy!
Your map looks great! I did the same thing quite a few years back with my young daughters help! We projected the map and used large butcher paper and crayons to color each state! It was a little easier than paint. I was able to cut the map into regions and after laminating it has lasted many years! Plus it reminds me of my daughter when she was younger! 🙂
Thanks so much, Jan! What a wonderful memory to have with your daughter! I bet that was really fun to do together! I’ll have to remember that when my daughter gets a little older!
The map is looking wonderful. You have done a great job.
I am from the Caribbean, Trinidad and Tobago to be exact. I will be trying this project for my classroom this year but with my country’s outline. I hope it comes out as beautiful as yours!
Love this map and idea! I can’t wait to make one of my own.
Yay!!! I’d love to see how yours turns out!