
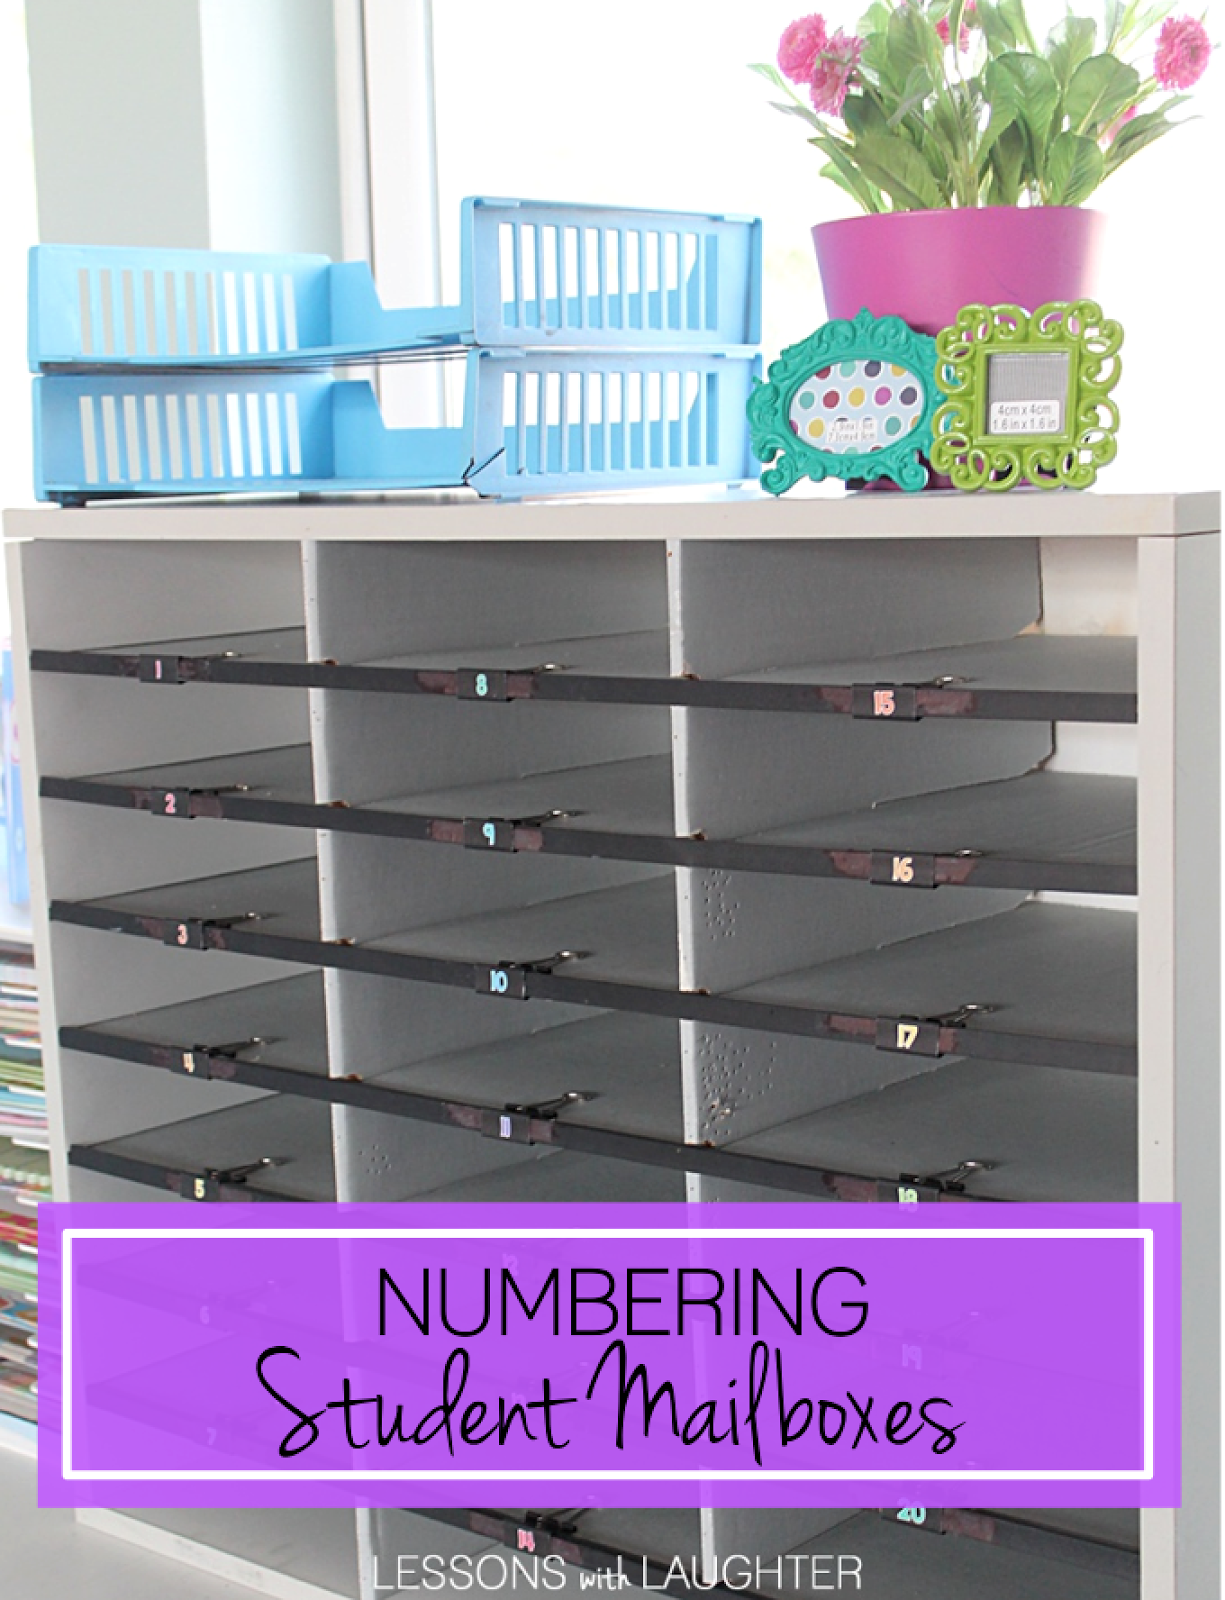


I have had student mailboxes ever since I started teaching and I can’t imagine not having them! They make passing out papers and other notes from the office so easy! The last 4 years I would write student names on labels at the beginning of each year to put on the mailboxes. The labels never really stuck very well though, and it took a lot of time away from classroom prep at the beginning of the year to get them ready! Plus, I’d always wait until last minute in case I had any new students enroll!
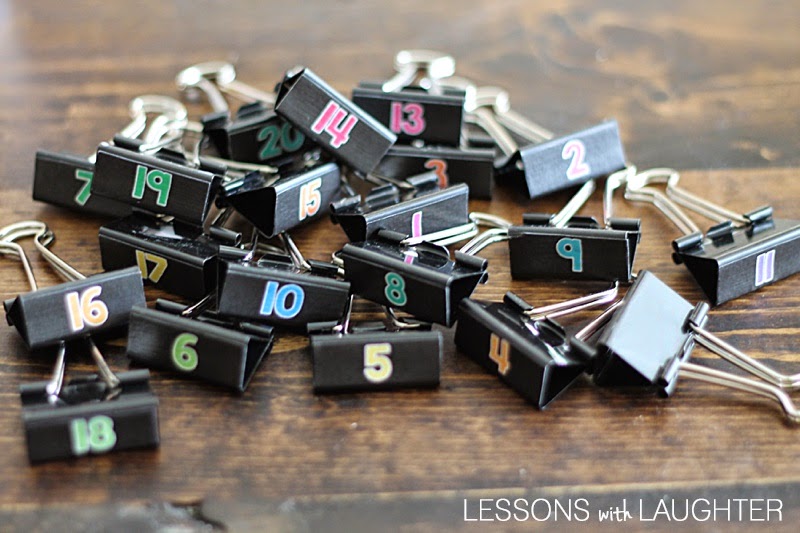
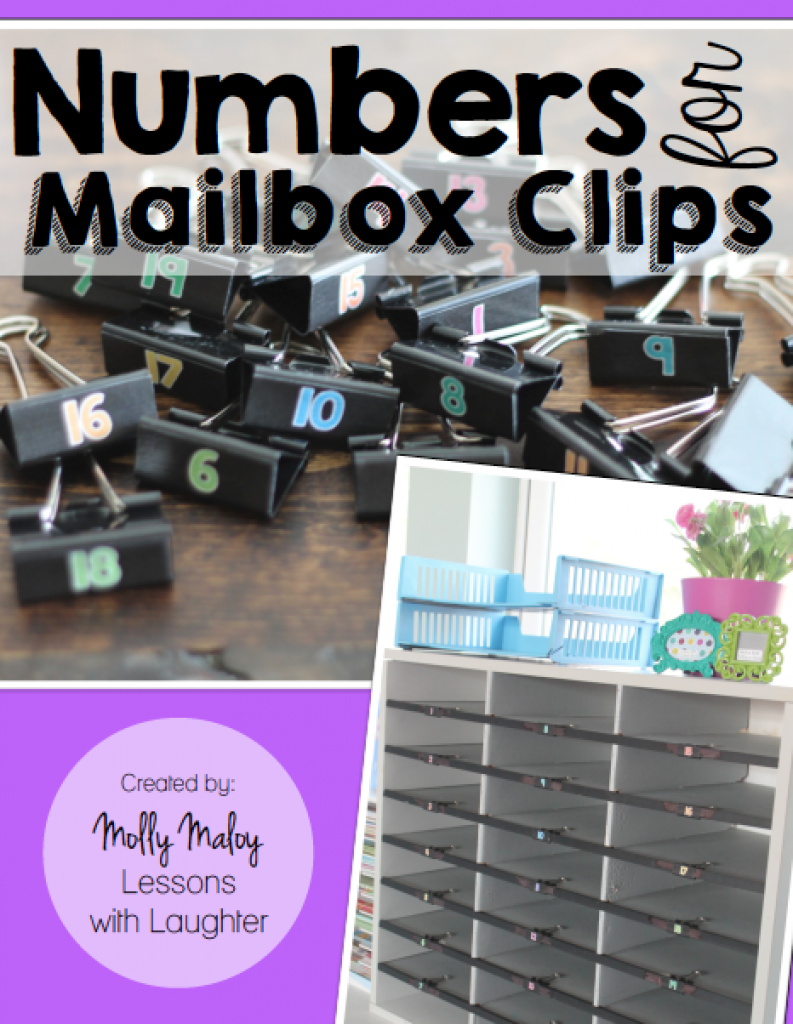
I number a lot of things in my classroom, and decided to try numbering my mailboxes as well! That way my mailboxes are set and I don’t have to redo them every year! This summer I posted a picture on Instagram of the numbers I was working on for mailbox clips, and I am finally getting around to sharing them with all of you!
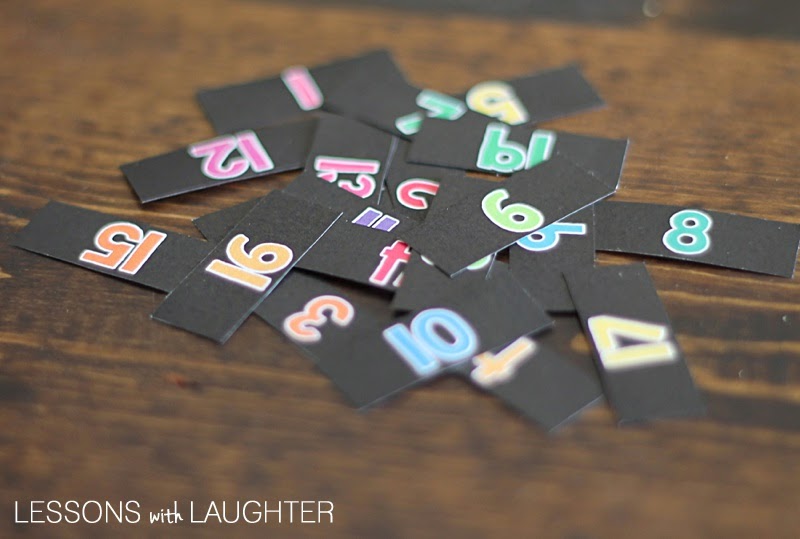
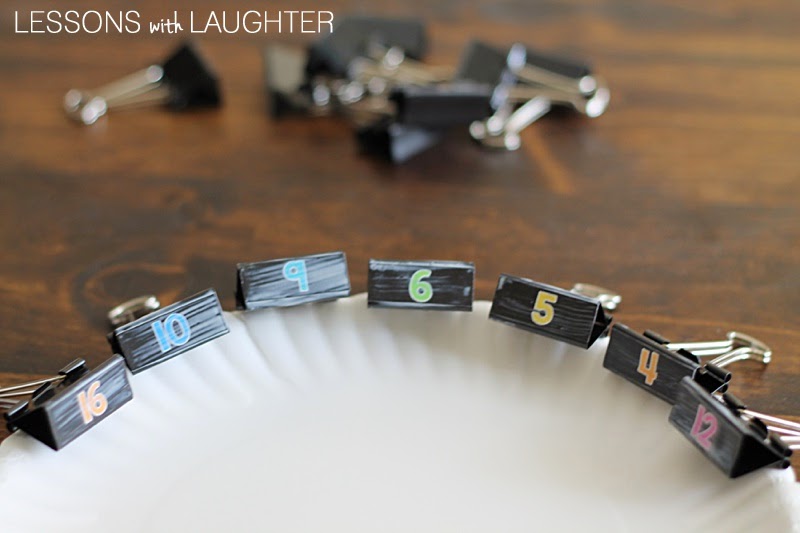
After printing out the labels, I cut them out, making sure not to leave any white space around the edges.

Then I put a layer of Mod Podge on the clip with a foam brush and affixed the number label.
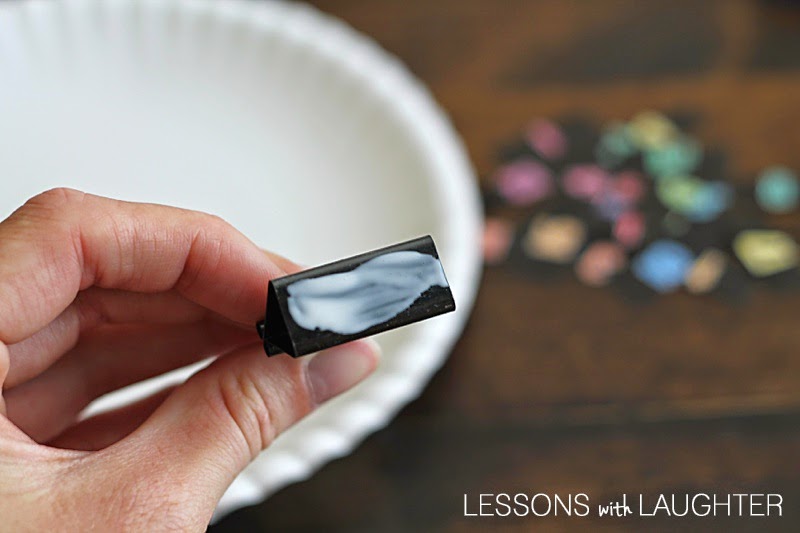

I added another layer of Mod Podge on top to make sure the number label was secure. I knew there would be a lot of little hands reaching in and out of the mailboxes and I want these clips to last!

After I finished each clip I laid it around the outside edge of a paper plate to dry. They dried surprisingly quick!
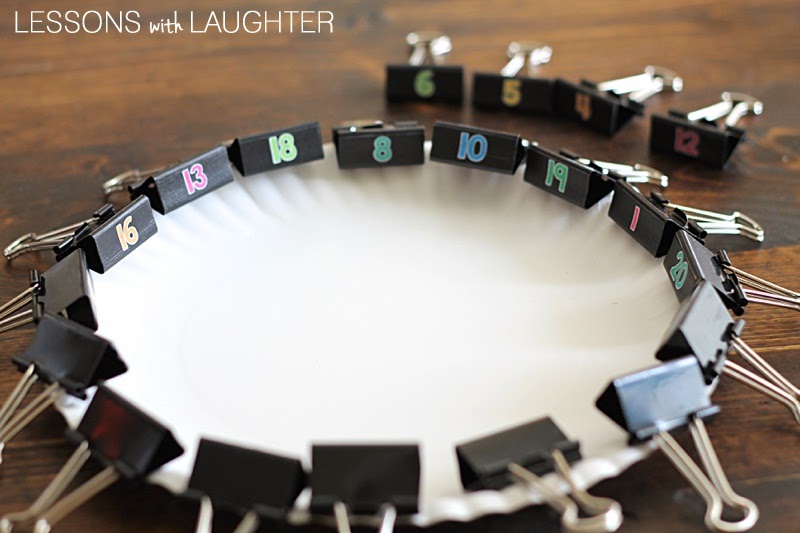
I’ve learned over the years to always make extras of EVERYTHING because it seems like I always get a couple new students throughout the year. Even though I only have 22 students this year, I made extra clips so I have them just in case!
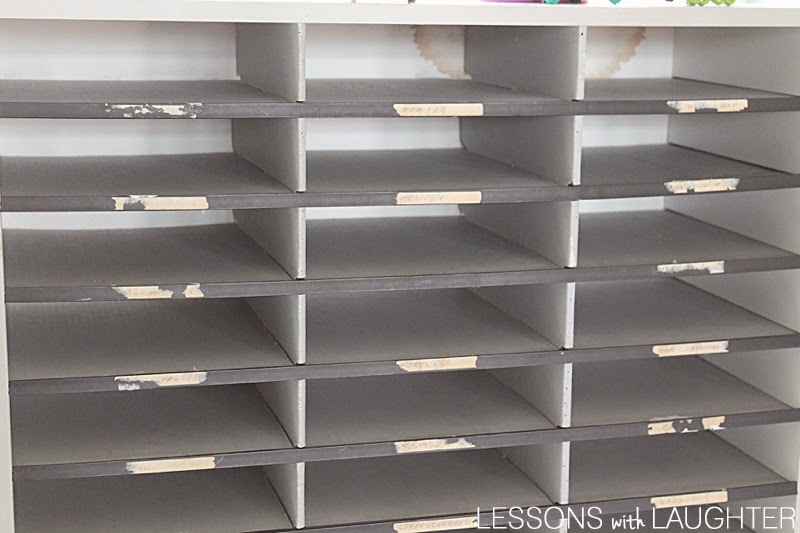
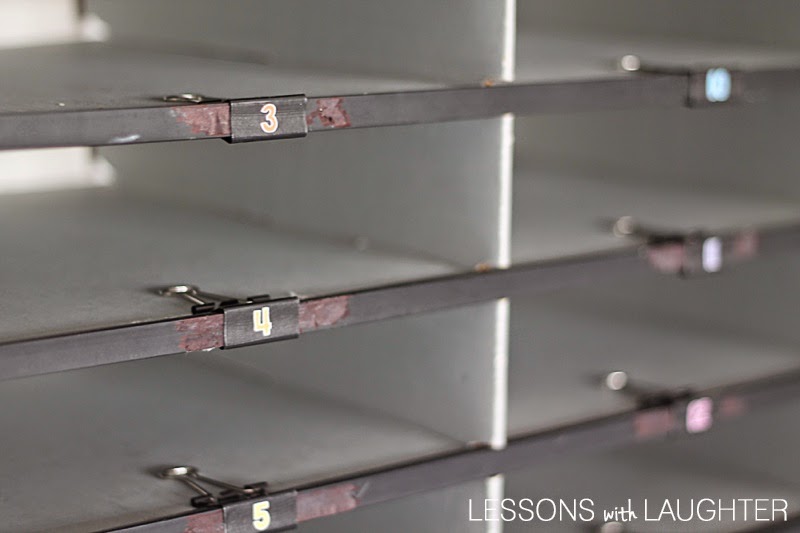
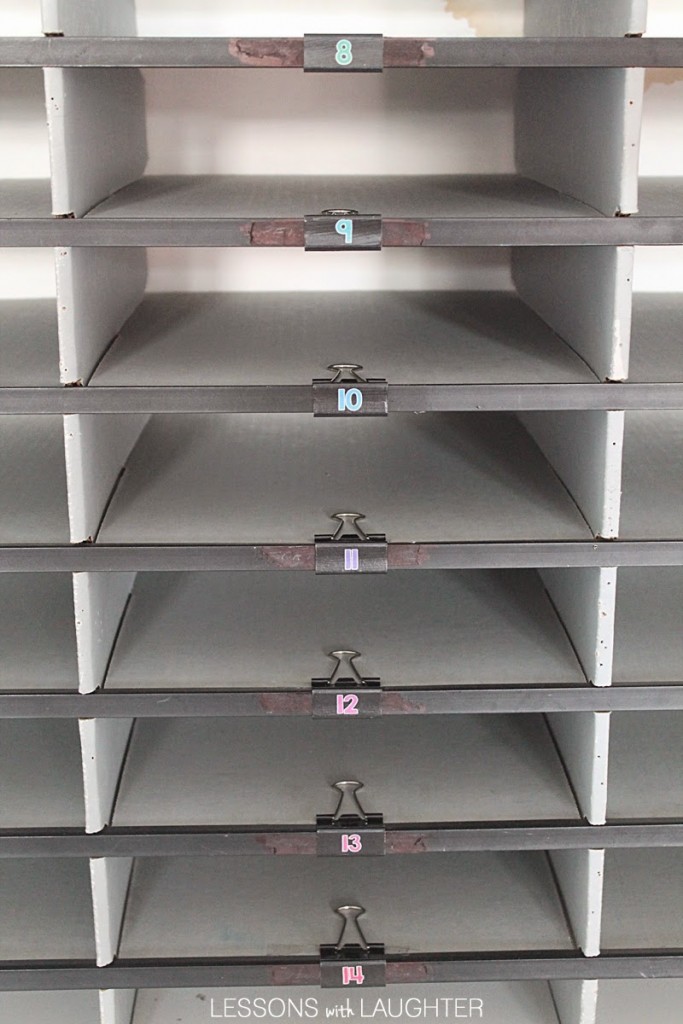
I am lucky to have gotten my student mailboxes from another teacher who didn’t need them anymore because they are pretty expensive. If you are looking for something similar, you can find one (here) or (here). Mine is old and well loved. There were old labels that have been stuck on their for years. I tried to peal off as much as I could, but there was still label parts remaining. To cover them up, I took a black sharpie and drew over the white (off-white) labels. From the pictures, you can tell where the sharpie was drawn on, but in person you can hardly tell! The binder clips went on easily after that!


If you are in need of an update for your student mailboxes, you can pick these up in my TPT store by clicking the image below!
I hope you all had a fabulous weekend! I am looking forward to seeing my students tomorrow after a week off! I miss their sweet little faces!


These are perfect!! I love organizing everything by number and these clips are a brilliant idea!! Thanks!!!
Thanks so much, Kathie!
LOVE. IT. Do you find that the papers get under the clips? I might take off the silver metal part when I do mine…
Thanks Diane!! That hasn't been a problem, but that would be a good idea to take off the mental parts! Is it easy to take them off after they are attached? I never even thought of that!
Molly! These are perfect! 🙂 Love the idea, and I am definitely going to be doing this before winter break! 🙂
Thanks Kari!! So glad you can use these!!
I was going to save myself a little time and trouble by making the seasonal book basket labels from http://monthbymonth.scholastic.com/organize.html and just glue them to my baskets. However, my baskets would take your clips just fine, so I am going to make my labels, put them on thin board, hot glue them to the clips, and attach them to my baskets. Now they will be stronger and retain their beauty longer.
Oh my goodness, I LOVE these Molly!! How smart and beautifull!!!! Thank you so much for sharing, I am pinning this gorgeousness right now 🙂
Thank you so much, Kristen!!
Wow!!! Love this, I'm off to renumber my mailboxes.
Thanks so much, Katie!! I'm sure yours are going to turn out great!!
Hi Molly,
How do the children know which number is their number?
K
Hi Kai!
They are each assigned a number that they keep all year! The numbers are alphabetical by last name and they help keep everything organized! They turn in their homework by number which makes recording grades quick and easy (I use the document sorter I blogged about here: https://lessonswithlaughter.com/2012/09/what-im-lovin.html), their mailboxes are in number order, and so are their book baskets!
Molly
Hi! I just discovered your blog and love it! Are your mailbox numbers available in your shop? If not, would you be willing to share? They are just too cute!
Thanks,
Carrie
Hi Carrie! Thank you so much! Yes they are!! You can get them for free here: https://www.teacherspayteachers.com/Product/Numbers-for-Mailbox-Clips-1586008
Thanks again and I hope you enjoy using them in your classroom!!!
Molly
I did this last year and absolutely loved it! You could also put washi tape over the black area where you had to use the Sharpie. I used a long strip of washi all the way across each row and it turned out so cute!! 🙂
Nikki
Faith Family and 5th
What size binder clips did you use? Small or medium? I am noticing the numbers are a little large for the small binder clips… 🙂 Thank you!!
Kari 🙂
With a small amount of Wesson oil and baking soda you can rub the sticky right off.
You can use a small amount of Wesson oil and baking soda and rub onto the sticky area. In about 5 minutes it should just rub right off.
HI Molly,
What size binder clips did you use? Also, did you print the numbers on regular paper, card stock, or sticker labels?
Thanks so much!
Cierra
Hi Cierra! I can’t remember exactly, but I want to say that they clips were about 1 inch. The numbers fit them perfectly with just a tiny sliver of clip on either side. I printed them numbers on regular paper and then used modge podge to adhere them!